Showing posts with label Zig Clean Color Real Brush Markers. Show all posts

Thursday, November 2, 2017

Deer Window Card


Hello Ai fans!

It's almost November and you can't even tell here in Florida.  It's still unusually hot here. All of the leaves on the trees are green.  Nonetheless I had to make a fall card.  I think the Deer Window M4879 Window to the world stamp is so peaceful and serene, so  I decided to use it for my card.  I made a shadow box card.  I used different measurements, but this tutorial shows the basic way I made it. 


Start the card with one piece of craft card stock. Cut it into two pieces that are 7" x 4 1/4". Score them at 1/2" and 1 1/2" on both sides of each piece. Fold each piece as shown on the link. You'll want to die cut a window to fit the front. I used the Tim Holtz Bigz Die Window and Window Box because it gave a large viewing area.I cut it out of a piece of Cherry Sticky Back Wood.  I added a piece of White Birch Sticky Back Wood to the center section of the front piece. Then measured the window opening and cut it with a craft knife.  Attach the window and window box onto the front of the card.  Attach the sides of the card together at the outermost 1/2" of craft paper by matching up your sides.  Use a strong tape like ScorTape.  Attach your colored Deer image at this point lining it up with the window.  Use a adhesive like Ranger Multi Medium Matte so you have a few seconds of wiggle time. I added a few flowers from Hobby Lobby along one side of my card along with two pieces of paper that were punched from the Martha Stewart Branches punch.  I attached them with Beacon Fabri-Tac. When you put your card into the envelope, push the sides in so the card pops up when the receiver takes it out of the envelope.


The image is colored with Zig Clean Color Real Brush Markers onto Strathmore Bristol paper. Use clean water and a #4 paintbrush. Just applied use the brush on your marker to apply color where your image would be darkest.  Use a damp paintbrush to pull the color out into the image.  It is important to use a damp brush.  If you use too much water, it will just bleach out your color. Once they were dry I added a drop of Diamond Stickles to the center of each flower.


Here is a view of the image outside of the frame. 

I used the following Zig Clean Color Real Brush Markers.
Tree Trunks - Beige 72, Deep brown
Grass and Trees - Olive Green 43, Beige 72
Deer - Beige 72
Flowers - Cornflower Blue - 37


Thanks for stopping by and Have a Great Day!


Thursday, August 24, 2017

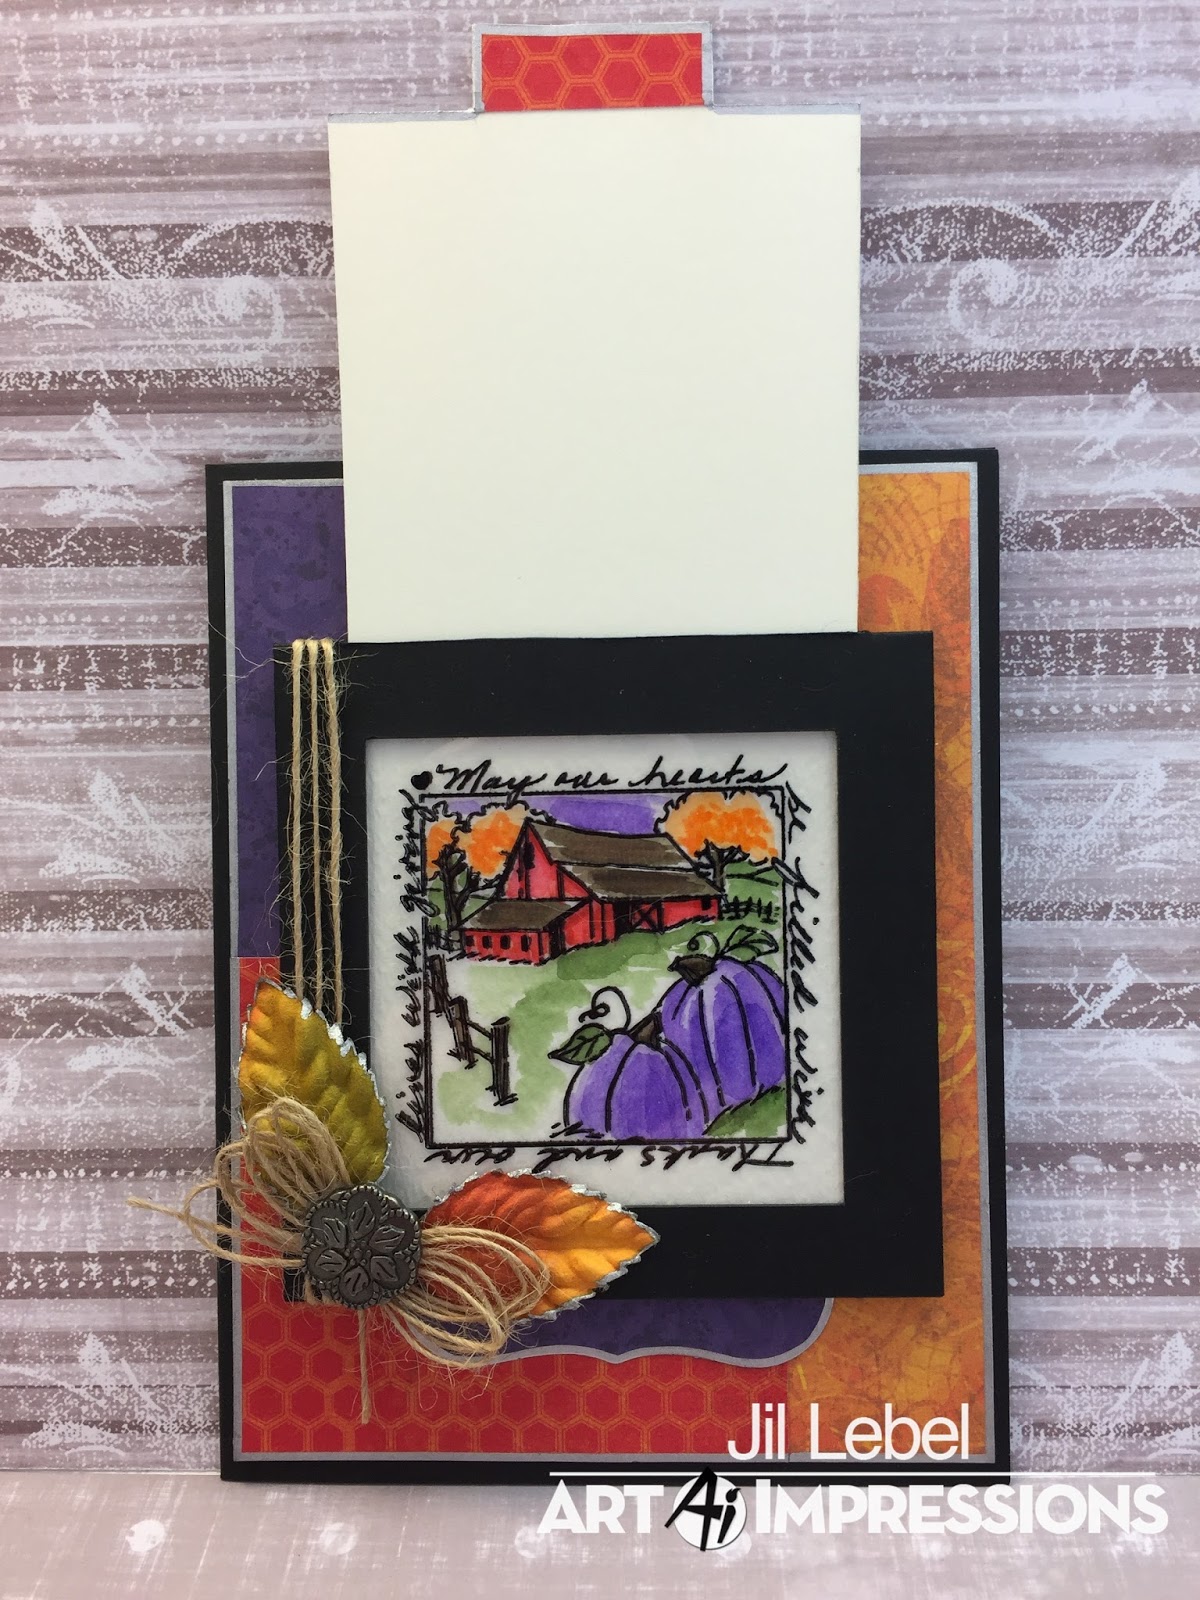
Filled With Thanks Ai Orange & Purple Challenge Card


The Art Impressions  challenge this week is actually a color challenge.  Just use the colors Orange and Purple.  Remember, it doesn't have to be a Halloween card. I chose to do an Autumn card. Go over to this post to read all about the challenge.  

I used the Filled with Thanks wood mounted stamp (SKU #4920).  It's one of three new wood mounted stamps you can find at your local Hobby Lobby .


I did a Magic slider card.  This is what it will look like when it is open. 


This card really is magical.  It starts out showing a black and white image, but as you pull the tab it reveals your colored image!


  I made a file for the Magic Slider card using Cricut Design Space.  Then I cut it out on my Cricut Explore Air. I used all square shapes.


It seems so complicated, but it's a really simple concept.


I colored my image with just a few  Marvy LePlume II Markers.
#8 Violet, #14 Olive Green, #45 Sepia, #83 Butterscotch, # 9 Persimmon

Thanks for stopping by and have a great day!


Compensated Affiliate Links Used


Monday, March 13, 2017

Lawn Fawn Hang In There Birthday Card


When I saw this sloth image as part of the Lawn Fawn new release I knew I had to have it.  It is just so silly looking.  I colored the image using my Zig Clean Color Rel Brush Markers after I had stamped it onto Bristol paper with my VersaFine Oxyx Black Ink Pad.  I used a water brush to blend out the colors on the party hat. I used just the markers to blend the sloth &  the log.


I cut another piece of Bristol paper with the double stitched oval STAX as well as a piece of acetate.  I blended two shades of distress ink onto the Bristol paper & splattered it with a mix of Perfect Pearls & water.  I made  frame from white paper using two mote of the STAX shapes.  I attached that frame to the acetate with glossy accents & added foam tape behind that.  I then added sequins in between the foam tape.  I put the Bristol piece of paper over the foam tape to sandwich in the sequins.  All of that was added onto a card that has a rectangle of the Lawn Fawn Plaid paper attached to it. Here is a video of the entire process.  All of the supplies & links are provided below the video.  Compensated affiliate links are used at no cost to you.


Friday, February 24, 2017

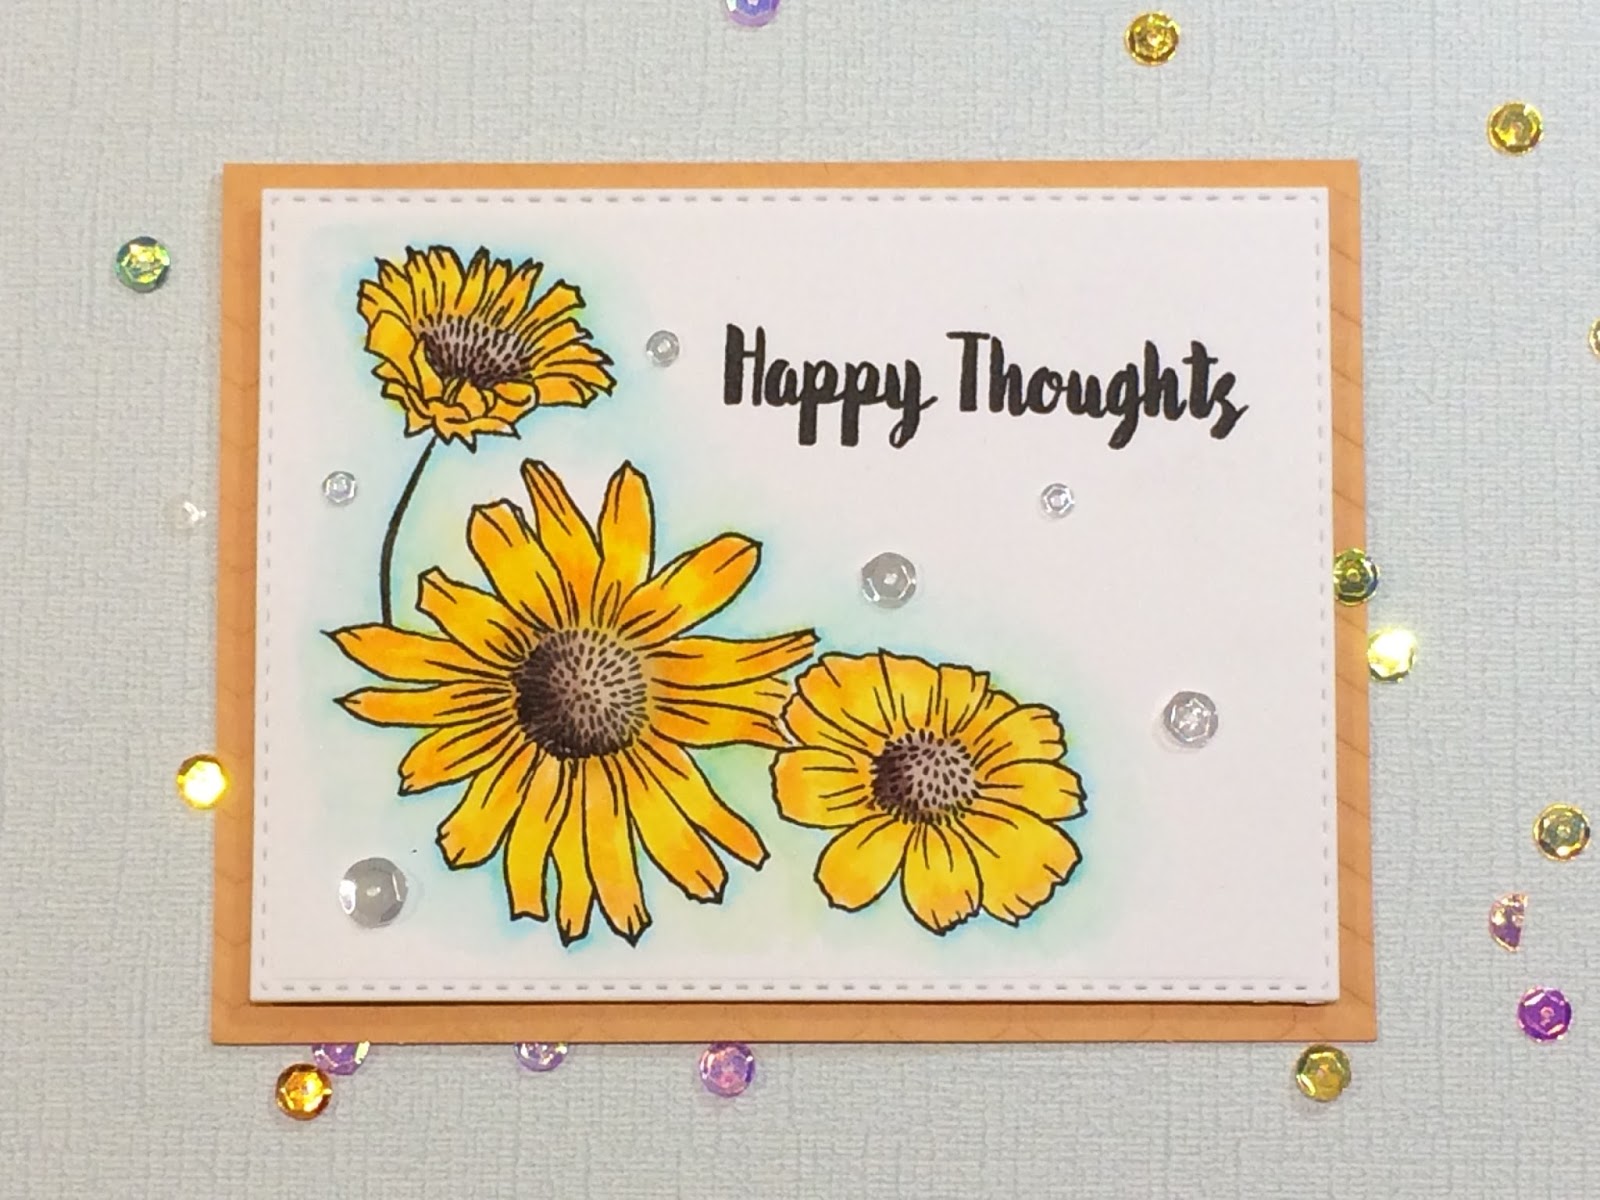
Smile More Yellow Altenew Class Card


 I'm taking the new Altenew class, In The Mood For Color.  The teacher is Stephanie Klauck.  Each day she goes over a new color and the mood it creates.  It's been really fun because it's not always something I think about.  For some reason I thought this class started tomorrow, so I'm running a bit behind.  Today's color is yellow & we are focusing on making cards with energy, optimism & cheer. I wanted to make a fast, fun card using one of my new stamp sets so I ended up using my Smile More stamp set.  It has some uplifting sayings that were perfect for today's class homework.  The flowers in the set are cone flowers so they also fit into the homework because I could make them yellow.  Altenew has a whole bunch of different classes available at altenewacademy.com .


I used my Zig Clean Color Real brush markers to color my images.  I only used four colors to do the entire card.  Everything was stamped onto Strathmore Bristol paper.  It's the best paper for using these markers.  I can't remember where I first saw this tip, but it's a great one.  I have a video of the coloring process below.  As always, the supplies are listed below.  Just click on the links if you'd like to know where I purchased them.  Thanks for stopping by!


Tuesday, June 21, 2016

Rainbow Challenge Pretty Pink Posh

Pretty Pink Posh: Rainbow Challenge


I have been working on my card for the Pretty Pink Posh (P.P.P.) Rainbow Challenge for quite a few days.  I got the e-mail June 11th and had several ideas pop into my head.  I had my order from P.P.P. sitting out & there were rainbow challenges all over You Tube.  I knew I would have to narrow down my ideas before I started anything.  I wrote down some ideas so I could sort through them the next day.  Well, that next day was June 12th.  I woke up to the news that an Orlando nightclub was the location of a mass shooting.  We now know that nightclub to be Pulse nightclub & it was the most deadly mass shooting in American history. I didn't lose anyone, but it still shook me.  I live in Kissimmee, Florida which is about 30 minutes from where it happened  This was WAY too close to home.  I have always seen the rainbow as gay pride, but now I will also see how it united Orlando.  I didn't feel that I could enter this challenge without mentioning my city.  If you can make a donation this is a place to do it. This week has been devastating but it has also brought many people together.  There are rainbows everywhere I look.  Here is mine.


I used Heather's card as my inspiration.  I loved the rainbow colors coming out of the windows.  I used my Gansai Tambai Watercolor Paints to make the pastel rainbow in the background.  The P.P.P. animals are colored with my Zig Clean Color Real Brush Markers to reinforce the rainbow colors.  I made the frame on my Silhouette Cameo using the P.P.P. frame dies as the basis for my designs.  I added a stitched border around them.  It can be hard to see.  I filled my shaker with just the sparkling clear mix of sequins.
SUPPLIES