
Hello Ai fans!
I really enjoy making shaker cards. I have a feeling that many of you do too. For those of you that haven't tried to make one yet, you should really give it a try! I've shown you how I made one below so you can follow along. I used the Meerkat stamp set, but you can do this with any stamps you have. Once you make your shaker card be sure to enter it in this weeks contest on the Art Impressions blog for the chance to win some great prizes.
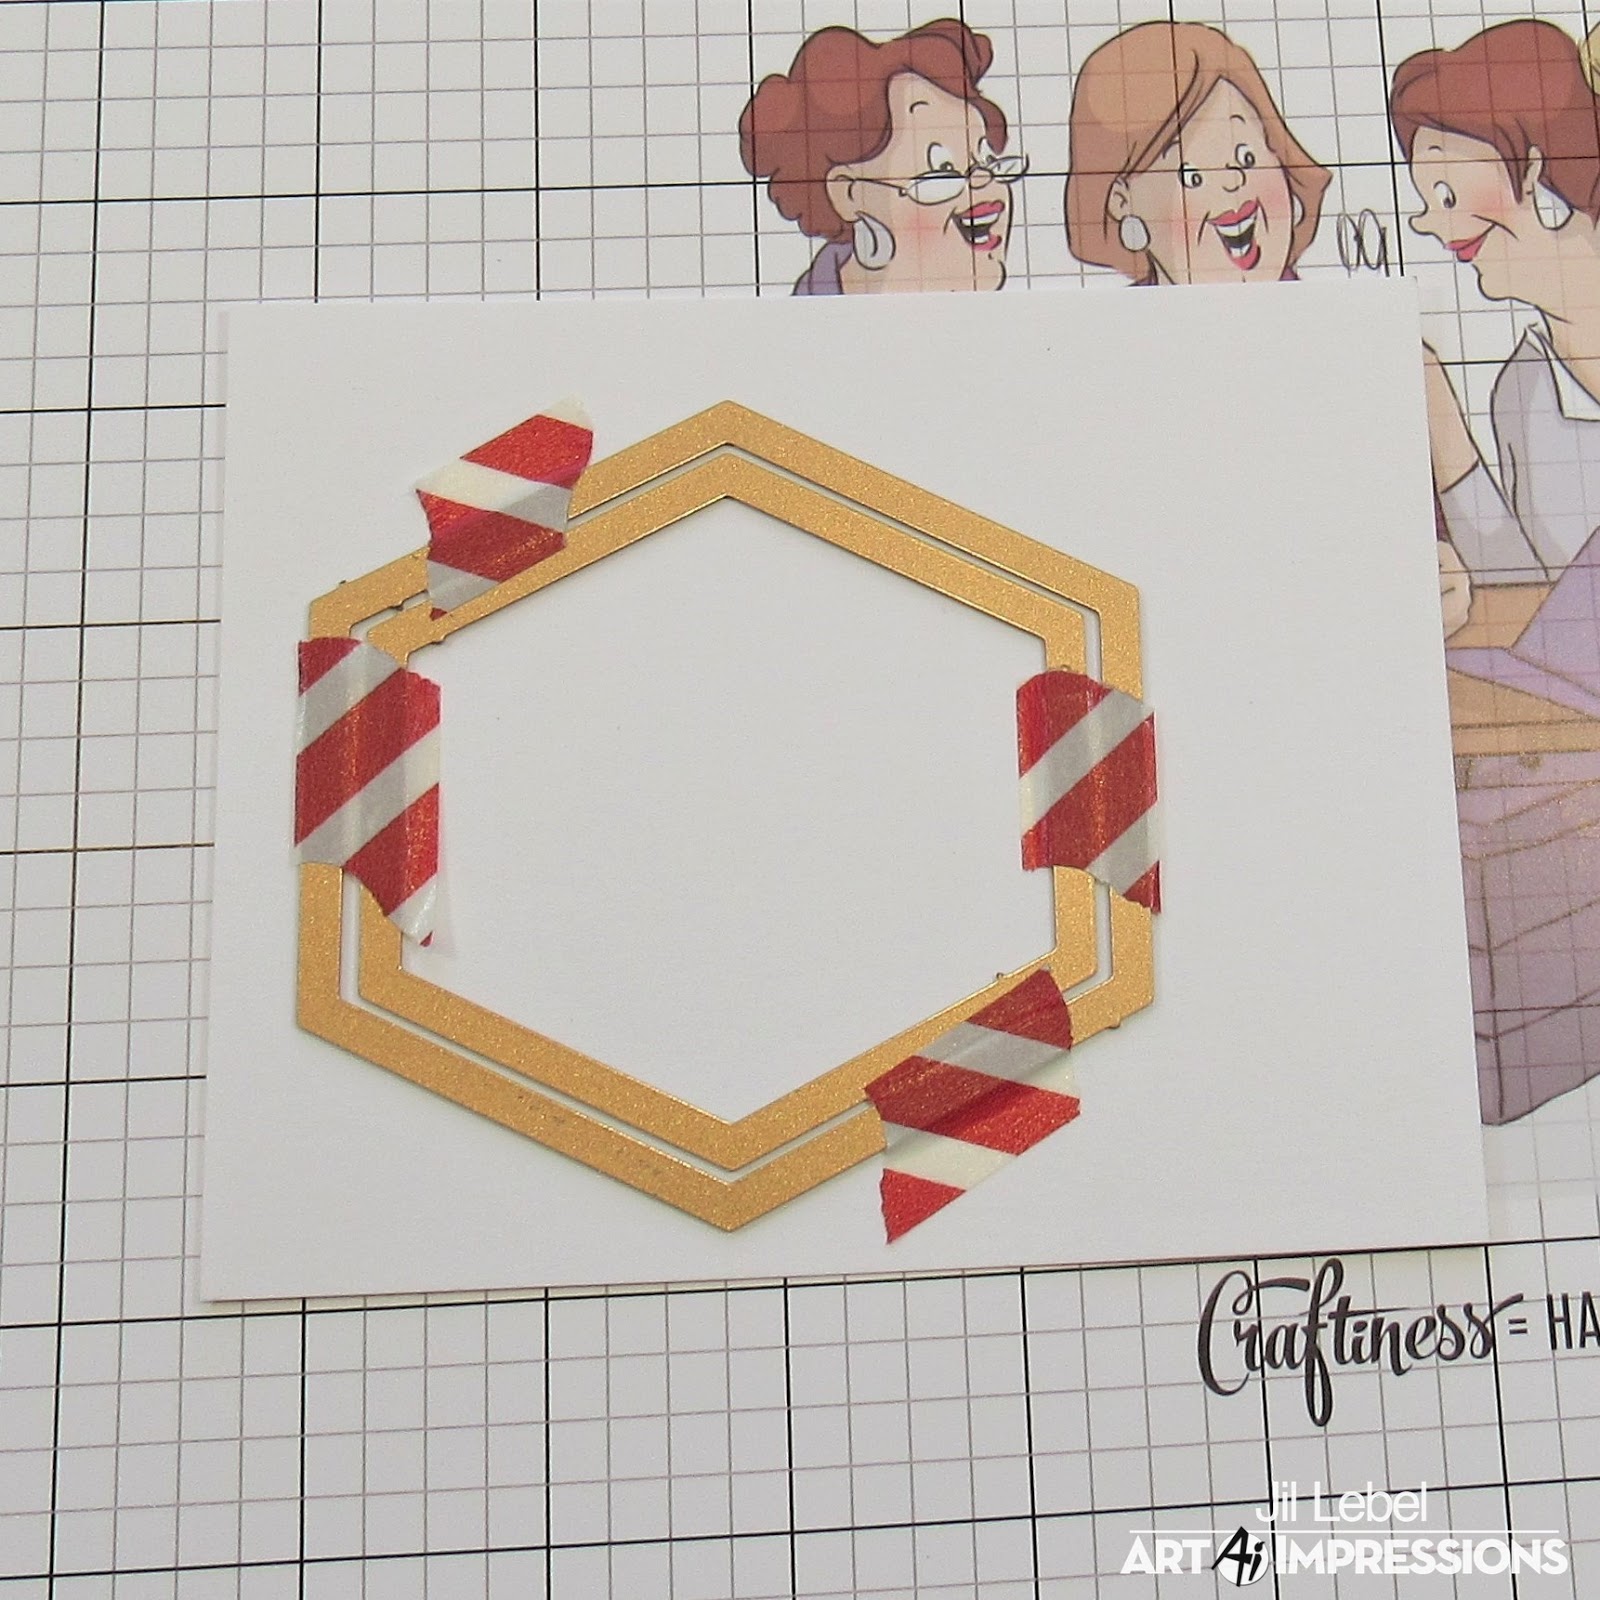
 To make the frame I used washi tape to attach two of the Hexagon Double Stitched Dies together and cut them out of white cardstock. I used the second and third largest dies.
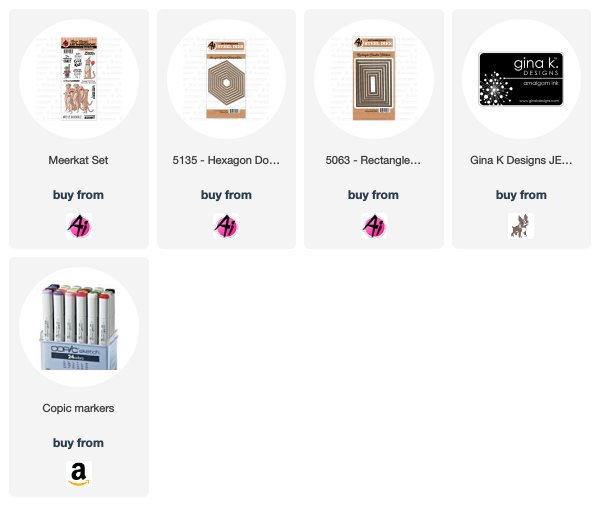
 Here are the elements of the card. I used the third largest die to cut a piece of confetti patterned paper. I used the second largest die to cut a piece of teal cardstock as well as a piece of acetate. I'm also showing you the A2 card, the papers that I layered over the card and the colored images. The images were stamped onto Copic X Press It paper with Gina K Designs Black Amalgam Ink and colored with Copic markers. The colors used are listed at the end of this post. Two greetings from the stamp set were combined and stamped at once to look like one bigger greeting.
 I used 1/4" double sided tape to attach the patterned paper to the center of the cardstock panel. I also attached the frame to the acetate with the same tape.
 I used two layers of Adhesive foam strips to form the shaker element. You can also use regular foam tape cut down into thin strips. Just double it up to give your shaker elements room to move. Be sure that you have no gaps in the foam tape so none of shaker bits escape.
 I chose to use tiny diamond shapes for this card. I purchased some from Queen and CO. and some from nail supply stores. I wanted them in a few different sizes. In the long run, I'm not sure that it mattered that they were different sizes.
 I added the items that I wanted inside the shaker over the patterned paper before removing the backing paper from my adhesive and then stuck the frame and acetate piece down. I find that it is the easiest way to line everything up.
  The last thing I did is attach all of my pieces to the card and shake everything up. I hope you make a shaker card of your own. I will warn you, they're addictive!
Copic Colors Used:
Meercat - E30, E31, E33, E25, E29, E83
Yellow - Y11, Y13, Y26
Orange - YR12, YR14, E08
Teal - GB11, BG13
Rose - R81, R83, R85
Gray - C0, C1, C3
Thanks for stopping by and Have a Great Day!

I really enjoy making shaker cards. I have a feeling that many of you do too. For those of you that haven't tried to make one yet, you should really give it a try! I've shown you how I made one below so you can follow along. I used the Meerkat stamp set, but you can do this with any stamps you have. Once you make your shaker card be sure to enter it in this weeks contest on the Art Impressions blog for the chance to win some great prizes.


Copic Colors Used:
Meercat - E30, E31, E33, E25, E29, E83
Yellow - Y11, Y13, Y26
Orange - YR12, YR14, E08
Teal - GB11, BG13
Rose - R81, R83, R85
Gray - C0, C1, C3
Thanks for stopping by and Have a Great Day!


No comments:
Post a Comment