
Hello Ai fans!
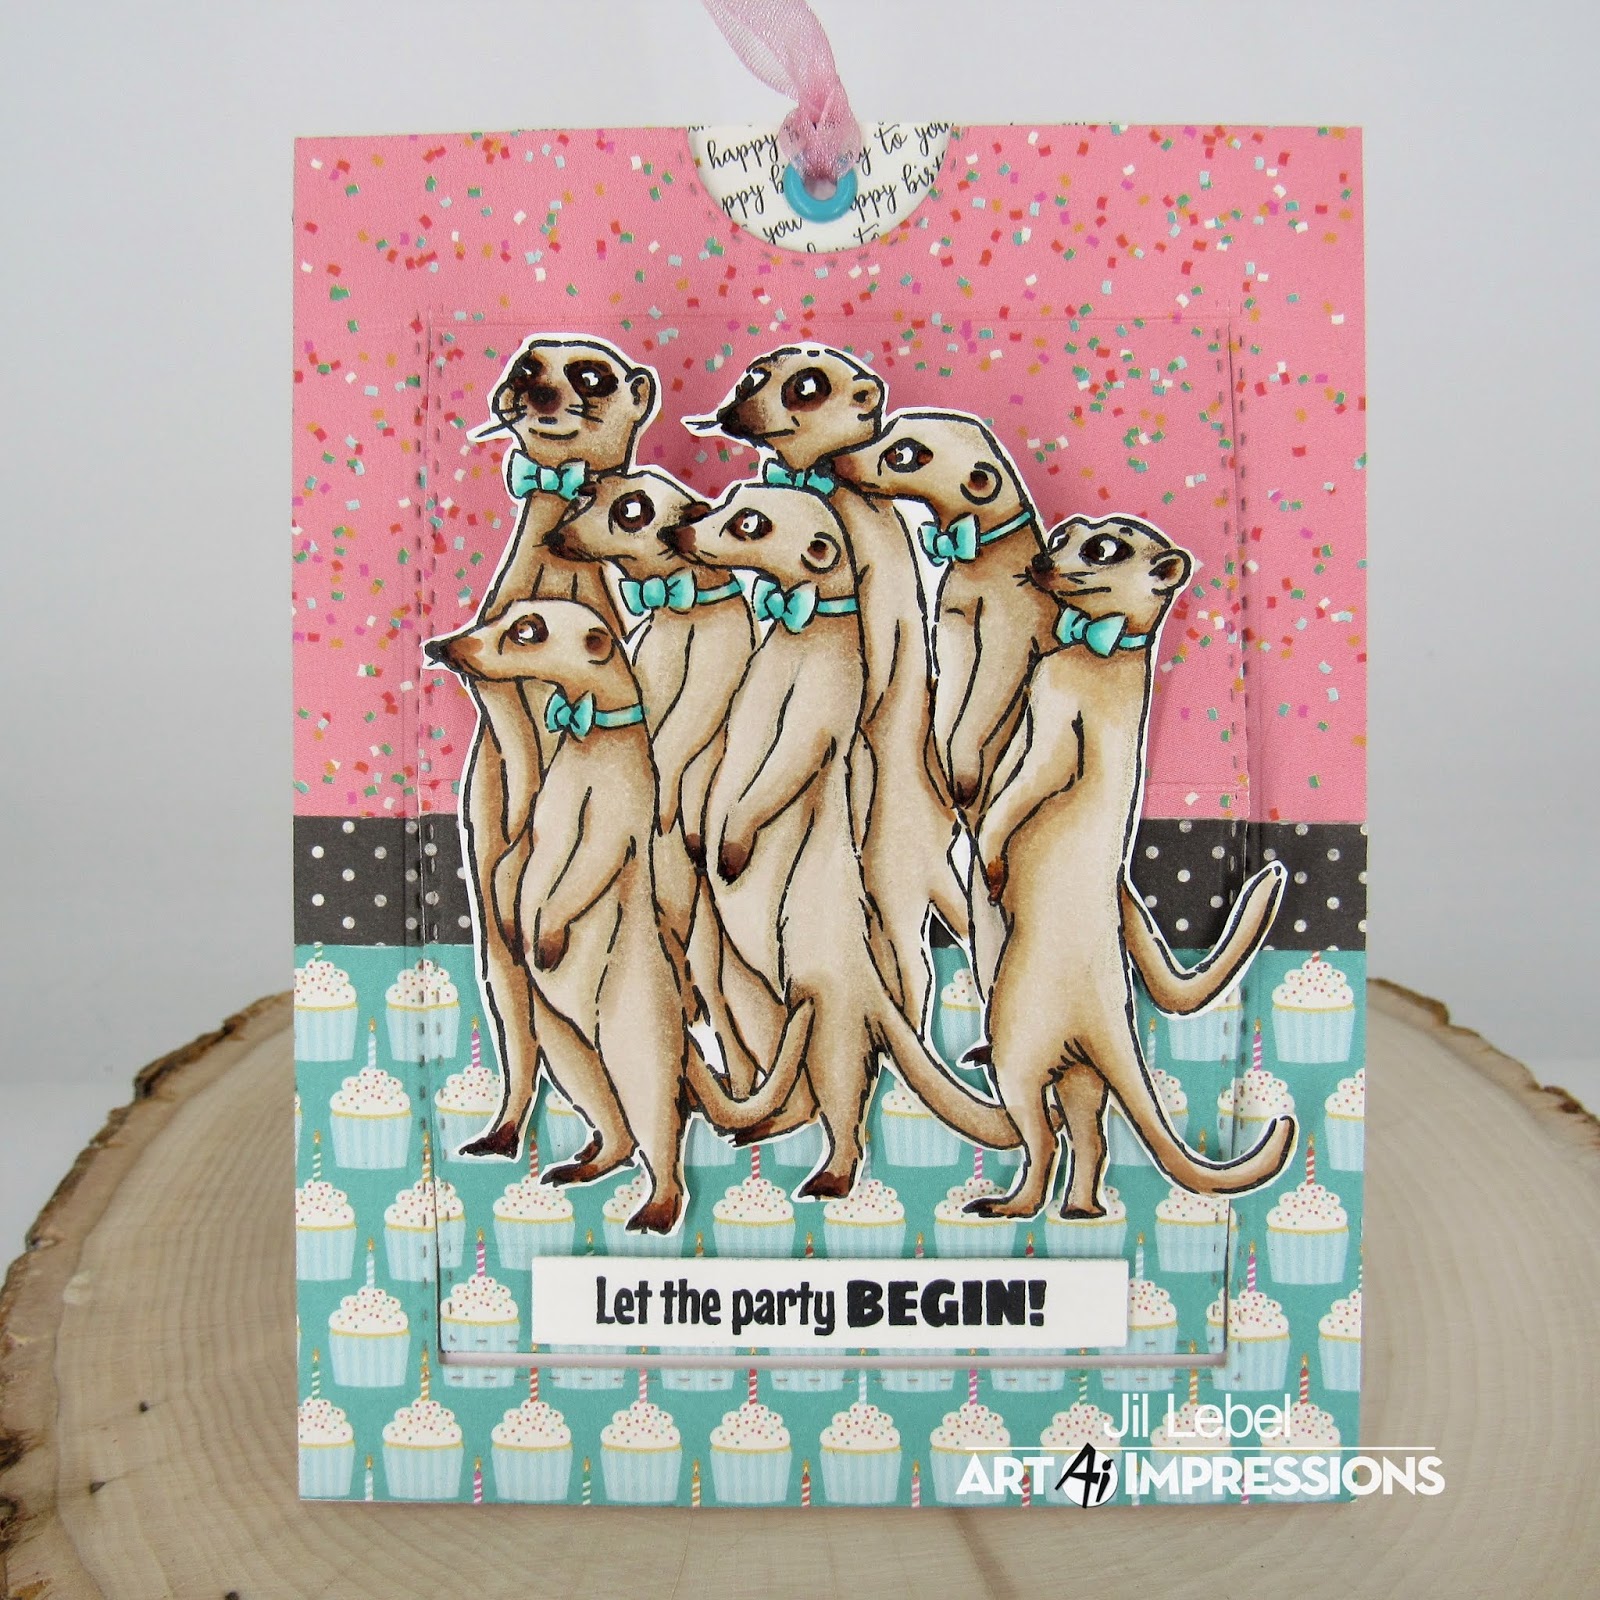
I just can't stress enough how much I enjoy interactive cards! If you've been following me here on the Ai blog for any time this news won't shock you. When I saw the Meerkat Set in this new release I knew I had to make them pop up in some way. I went through my old favorite cards and came up with the surprise pop up card that I had made based on a tutorial from SplitCoastStampers. It's quite easy to make with a few simple folds.
 This is a photo of the card front while it is closed.
 This is what the card front looks like when you pull the ribbon to reveal the hidden message. You could also add a gift card.
 The image was stamped onto Spetrum Noir Ultra Smooth paper with My Favorite Things Extreme Black Ink and colored with Copic markers. It was then gone over with a very light layer of Prismacolor colored pencilsThe colors used are listed at the end of this post. It was fussy cut with EK Success Cutter Bee scissors.
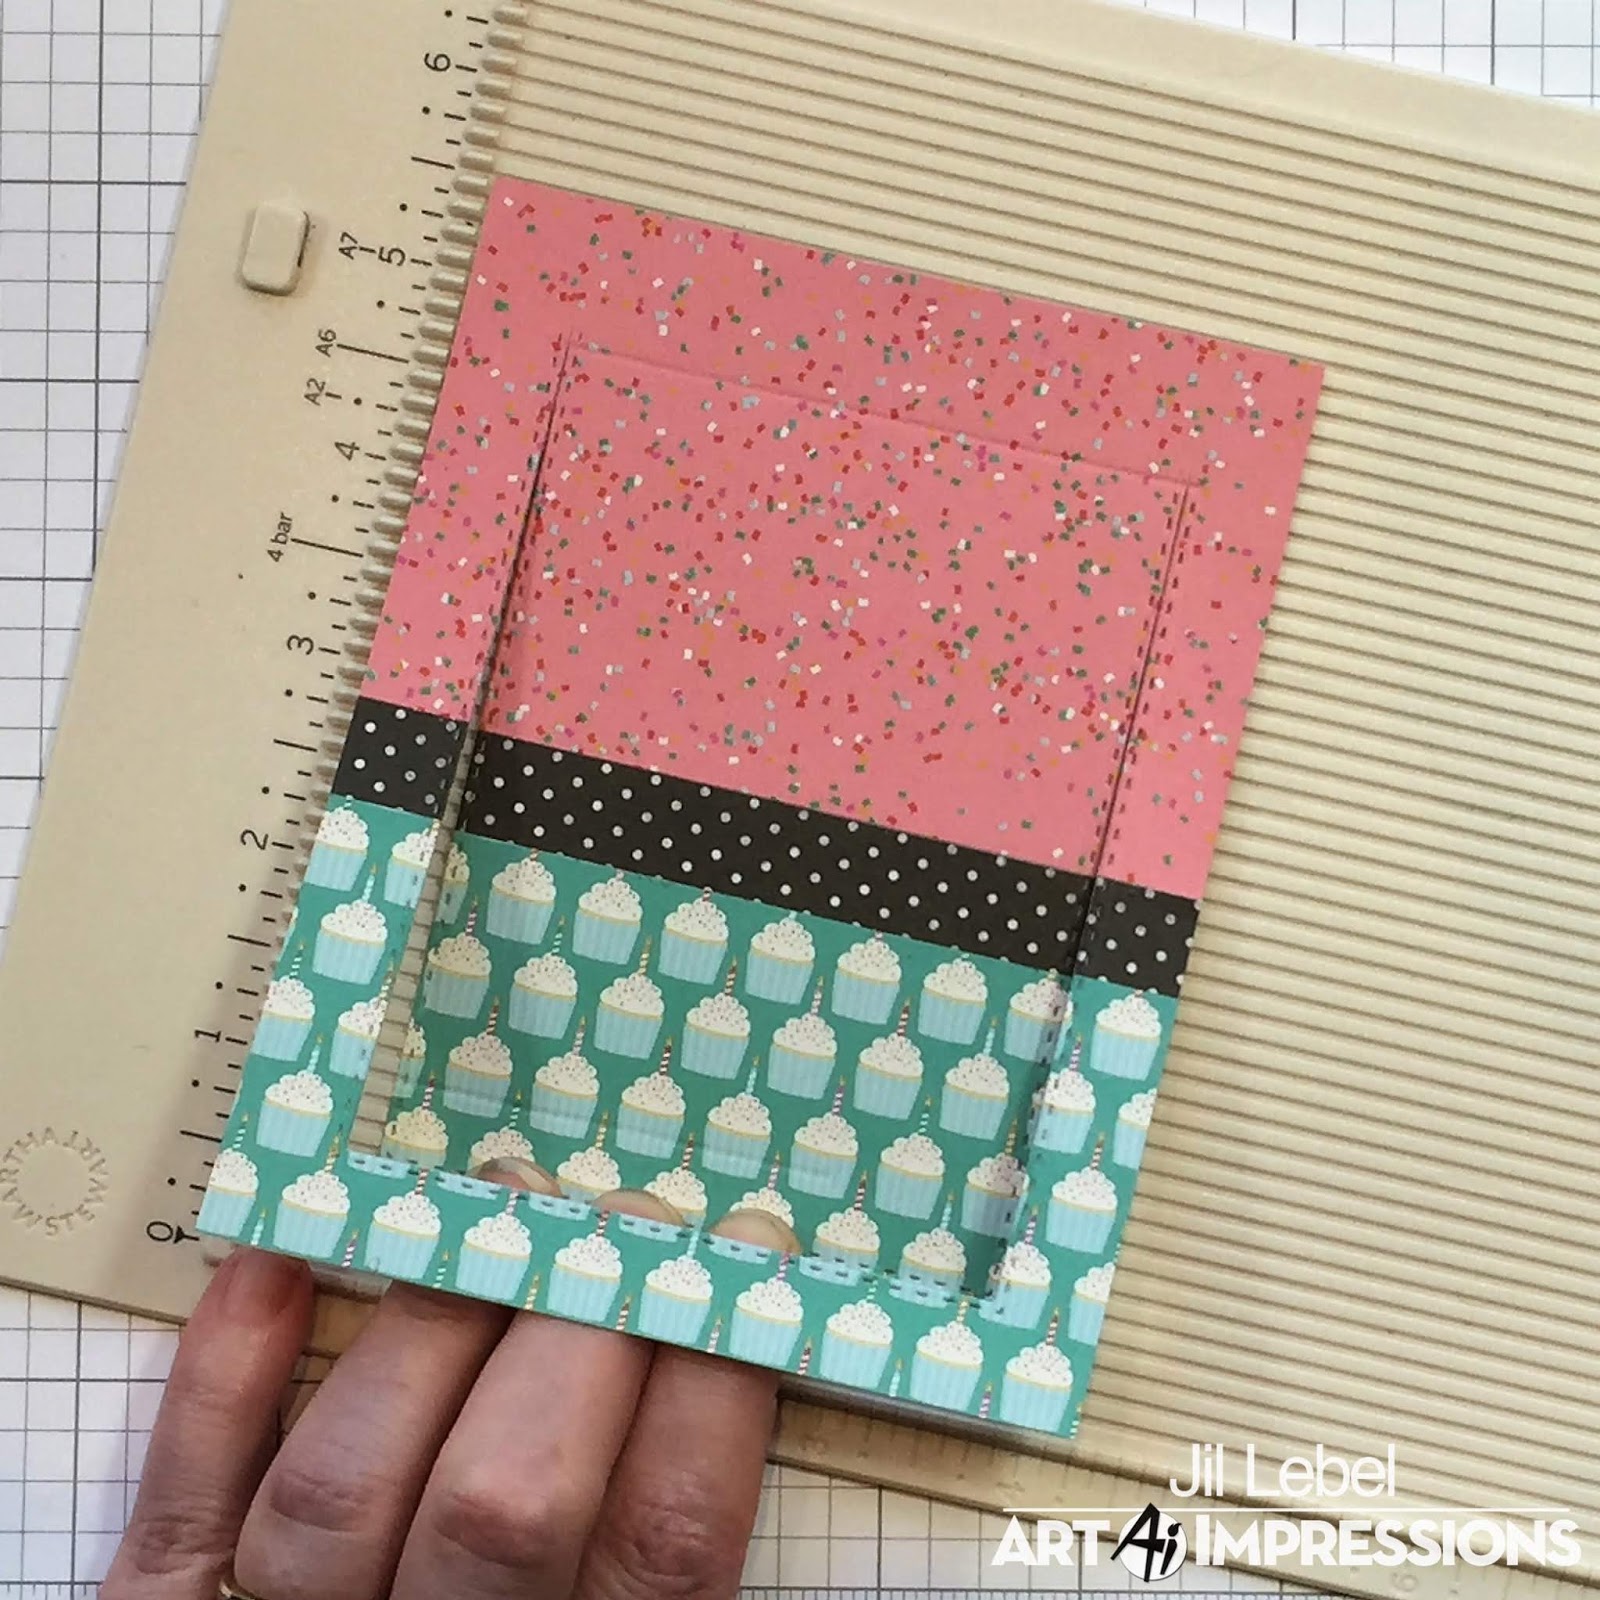
 Paper from the Echo Park Party Time bu Dani Mogstad 6 x 6 paper collection was added to a 4 1/4" x 5 1/2" piece of paper. It was then cut with the A2 Rectangle Double Stitched Dies. The top of the die wasn't cut. This is easy to do, just send the die through the die cut machine with the plates together just up to the point that your don't want to cut link in the photo.
 The paper was scored on the interior portion of the cuts from the bottom up at 1", 2 7/8" and 4 3/4".
 The middle fold is a mountain fold, which just means it will fold up from the back. The other two folds are valley folds, they fold down.
 A half circle was added to the top of the panel using the Circle Double Stitched Dies.
 Another greeting and image were stamped with the same ink and Colored the same as before. They were stamped inside the card top to be sure the image could be seen when the card was opened.
 This is a back view of the front card panel. Strong tape was adhered to the bottom inner piece. It will be attached to the tag. The tag is 2 7/8" x 4 3/4". It is a piece of card stock with a piece of the pattern paper over it. The We R Memory Keepers Deco/Stub Corner Chomper was used on the top edges.
 This is the back view of the front card panel. The tag was flipped over and lined up with the bottom of the front panel and attached to the adhesive strip. This will form the pull tab for this card.
 A eyelet and ribbon were added to the center of the top of the tag. A thin layer of foam tape was added around the back and added to a top folding A2 card base.

Copic Colors Used:
Meerkats - E40, E42, E33, E25, E29
Teal - BG10, BG11, BG13
Pink - R81, R83, R85
Prismacolor Colored Pencil Used:
Sandbar Brown 1094, Dark Brown 946
Thanks for stopping by and Have a Great Day!

I just can't stress enough how much I enjoy interactive cards! If you've been following me here on the Ai blog for any time this news won't shock you. When I saw the Meerkat Set in this new release I knew I had to make them pop up in some way. I went through my old favorite cards and came up with the surprise pop up card that I had made based on a tutorial from SplitCoastStampers. It's quite easy to make with a few simple folds.

This is a photo of the card front while it is closed.

This is what the card front looks like when you pull the ribbon to reveal the hidden message. You could also add a gift card.


Copic Colors Used:
Meerkats - E40, E42, E33, E25, E29
Teal - BG10, BG11, BG13
Pink - R81, R83, R85
Prismacolor Colored Pencil Used:
Sandbar Brown 1094, Dark Brown 946


1 comment:
Fun card Jil and great tutorial.. Love these guys... I used to watch that show. They were so cute
Post a Comment