Hello Ai fans!
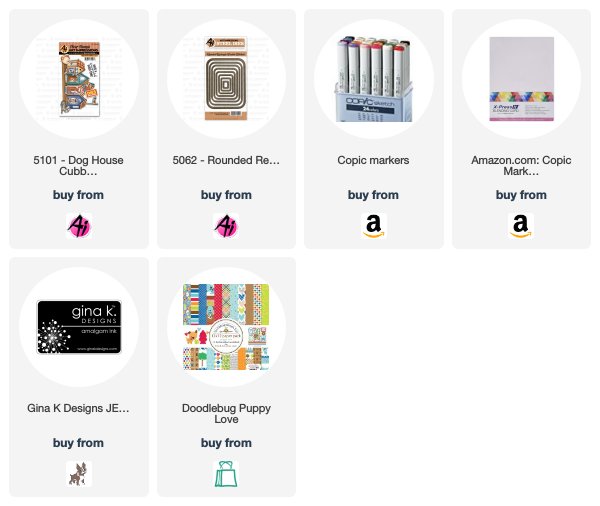
The images were stamped onto Copic X Press It paper with Gina K Designs Black Amalgam Ink and colored with Copic markers. The colors used are listed at the end of this post. They were then cut with their coordinating dies. The Doodlebug Pupply Love 6" x 6" Designer paper was cut with the Rounded Rectangle A2 Double Stitched dies and attached to an A2 white card base. A white piece of card stock was stenciled using Mowed Lawn Distress Oxide Ink and the Altenew Square Weave Pattern stencil. I was sure to apply uneven pressure with my Picket Fence Life Changing brush for an interesting look.
The slider portion was very simple to make. I just cut a slit out of the bottom of the stenciled background with the long, straight die from the Lawn Fawn Slide On over Dies. I punched three 3/4" circles and glued them together. They formed the weight to go behind my slider piece. I then attached foam dots to the back of my stenciled paper. I was sure to leave an opening under and above the slider area. I placed it onto my card and then put the cut out piece of the stenciled paper flat onto my card. I then placed the circles into the slider opening and attached a 1/4" foam dot to the center of the circles and then attaches my dog to the center of the foam dot. At this point I tried out the slider to make sure it worked and applied some anti-static powder to it. Once I was sure that the slider was working, I attach the cubbie and dogs to the card with glue and foam tape.
Gold Dogs - YR21, YR24, E31, E33, R81
Dark Brown Dogs - E31, E33, E35, E37, E39
Gray Dog - C1, C3, C5, R81
Bulldog - C1, E30, E31, C33
Hound Dog - W1, W3, W5
Wood- E31, E33, E35
Green - YG11, YG03, G24
Blue - B000, B02
Yellow - Y13, Y26, Y28


No comments:
Post a Comment