Hello Ai fans!
One of my favorite things about Art Impressions is the cute images that give me a good chuckle. The Hedgehogs set in the new funny farm release had me rolling. The image I used today is a bit laid back, but I wanted to pair it with the WC Southwest set. I often forget that I can use my watercolor series stamps with an ink pad. Do you do the same thing?
The main image with the hedgehog leaning on the cactus was stamped onto the watercolor paper with Versafine Clair Nocturne Ink and heat set. I then stamped the image onto a piece of mask paper and cut it out. When cutting a mask, cut right along the middle of the stamped line. The mask was then placed right over the image to protect it from the rest of the stamping. I then stamped the pot and the rock from the southwest set with the same ink and heat set the image again. I stamped the pot onto a piece of mask paper and cut it out and placed it over the pot. The cactus image from the watercolor set was the last image to be stamped and heat set. All of the masks were removed. The greeting was stamped into the top corner. One thing to remember when you are masking a scene is that you want to first stamp the images that you want in the front and work your way backwards.
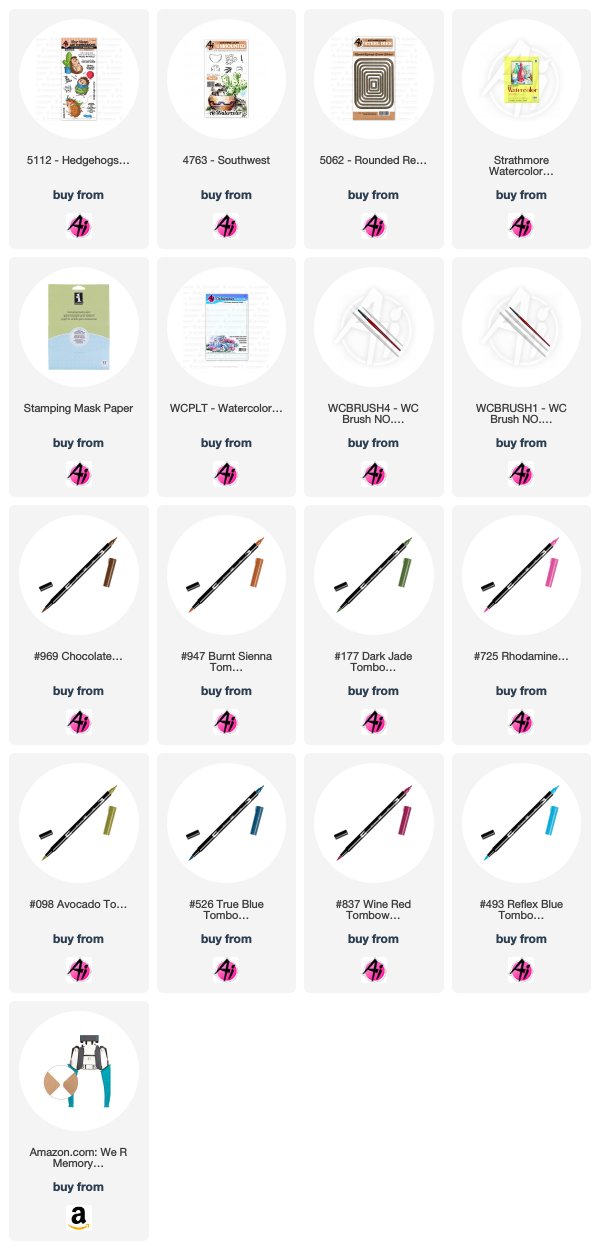
Now for the fun part! All of the coloring was done in the same way. I worked in one section at a time and colored the Tombow markers directly onto the paper where I wanted the color to be the darkest. I would then add very little water to my brush and add the water to the area that I wanted my color to be the lightest and move my brush into the color covering the entire image. I did that for all of the same color at one time and let it dry. Once it was dry it would usually need a second layer of color applied the same way. I was sure to leave highlighted areas to add life to the images. The colors I used are listed at the end of this post.
Hedgehog - 969 Chocolate, 947 Burnt Sienna, 725 Rhodamine Red
Cactus - 177 Dark Jade, 098 Avocado
Pots - 837 Wine Red, 526 True Blue
Rocks - 969 Chocolate, 526 True Blue
Sky - 493 Reflex Blue
Thanks for stopping by and Have a Great Day!

The main image with the hedgehog leaning on the cactus was stamped onto the watercolor paper with Versafine Clair Nocturne Ink and heat set. I then stamped the image onto a piece of mask paper and cut it out. When cutting a mask, cut right along the middle of the stamped line. The mask was then placed right over the image to protect it from the rest of the stamping. I then stamped the pot and the rock from the southwest set with the same ink and heat set the image again. I stamped the pot onto a piece of mask paper and cut it out and placed it over the pot. The cactus image from the watercolor set was the last image to be stamped and heat set. All of the masks were removed. The greeting was stamped into the top corner. One thing to remember when you are masking a scene is that you want to first stamp the images that you want in the front and work your way backwards.
Now for the fun part! All of the coloring was done in the same way. I worked in one section at a time and colored the Tombow markers directly onto the paper where I wanted the color to be the darkest. I would then add very little water to my brush and add the water to the area that I wanted my color to be the lightest and move my brush into the color covering the entire image. I did that for all of the same color at one time and let it dry. Once it was dry it would usually need a second layer of color applied the same way. I was sure to leave highlighted areas to add life to the images. The colors I used are listed at the end of this post.
Cactus - 177 Dark Jade, 098 Avocado
Pots - 837 Wine Red, 526 True Blue
Rocks - 969 Chocolate, 526 True Blue
Sky - 493 Reflex Blue


No comments:
Post a Comment