Hello Ai fans!
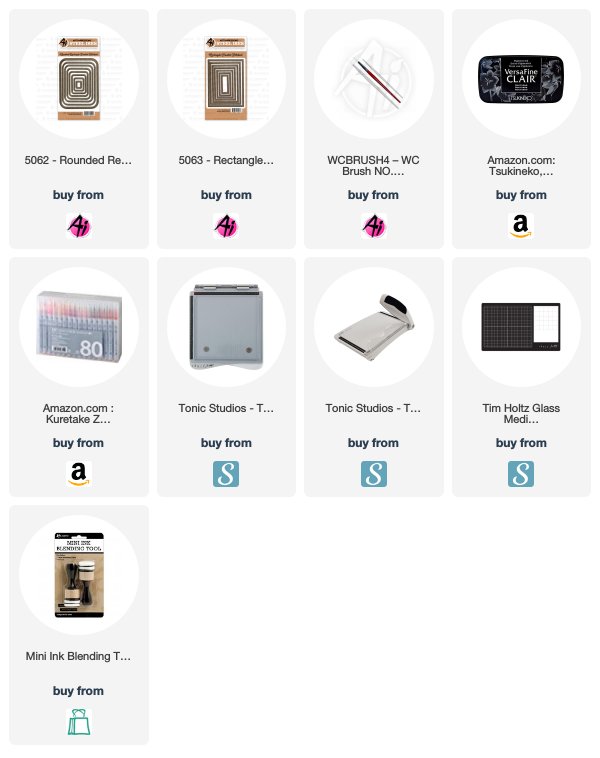
It's time for a new challenge at the Art Impressions blog. Be sure the enter the Movers and Shakers Challenge for your chance to win some great prizes. There are eight new Twisters sets to being released today. They come with the back and front images as well as the dies to cut out both sides. Be sure to pick up the Twisters Die to cut out the opening. It coordinates with all eight sets. I am using the Floral set for this tutorial.
I started by stamping the images onto Strathmore Bristol Smooth Paper with Versafine Clair Nocturne Ink. When I stamped the images I was sure to leave room on the top and bottom of my paper for the dies. Then I cut the images out using the matching dies.
Next, I colored them with my Zig Clean Color Real Brush markers. I spread the color out using very little water and my
#4 brush. The colors used are listed at the end of this post. I then glued the images together back to back. They line up exactly because of the die cuts.
I cut a piece of patterned paper from the Carta Bella Botanical Garden 6" x 6" collection with the Rounded Rectangle A2 Double Stitched Dies. I then cut the Twisters Die from the center of the rounded rectangle.
I attached another piece of patterned paper from the same paper collection to an A2 card and rounded the corners with a corner chomper. I used Shaded Lilac Distress Ink on the edges of the card and the rounded rectangle. I placed the rounded rectangle in the center of the card and placed the Twisters die back into the opening and used a pencil to gently trace the opening. I then placed the die onto the card and cut out the opening.
I then attached the rounded rectangle piece to my card front. I used liquid adhesive around the center and dry line adhesive around the outside. I like to pull up part of the dry adhesive and place my layers before I commit to pulling off all of the adhesive. That way I can still move it if it isn't in the right spot. Once it's in the right spot, I can pull off the backing paper and attach my layers.
I wanted a small border around the opening of the twister frame. I cut another opening with the Twisters Die onto a lighter piece of the patterned paper and left my die in place. Then I very lightly traced the outside of the die with a pencil. I fussy cut on the pencil line and erased the pencil marks. I used liquid adhesive to attach this around the opening.
I stamped the included greeting and cut it with the smallest
Rectangle A2 Double Stitched Die. It's attached with foam tape right below the die cut opening. I just inserted the flower images into the card opening and it moves back and forth to reveal both sides!
Zig Clean Color Real Brush Markers Used:
Flowers - 200 Sugared Almond Pink, 026 Light Pink, 080 Violet
Rose- 025 Pink
Leaves - 044 Deep Green
Vase - 083 Lilac
Thanks for stopping by and Have a Great Day!

 I started by stamping the images onto Strathmore Bristol Smooth Paper with Versafine Clair Nocturne Ink. When I stamped the images I was sure to leave room on the top and bottom of my paper for the dies. Then I cut the images out using the matching dies.
 Next, I colored them with my Zig Clean Color Real Brush markers. I spread the color out using very little water and my #4 brush. The colors used are listed at the end of this post. I then glued the images together back to back. They line up exactly because of the die cuts.


No comments:
Post a Comment